Add a Client to the Waitlist

Apr 05, 2022
 212
212
Add a Client to the Waitlist
Policy
- Rather than turn away Clients, when we are unable to accommodate a guest with their preferred provider at their preferred time, it is the duty of the Front Desk to add the Client to our Waitlist!
- A Waitlist entry can only contain a single service request. If a Client is requesting more than one service you will need to create a separate Waitlist entry for each service.
-
The waitlist is linked to the date in the Appointment Book. To add a waitlist entry for a different date, change the date of the Appointment Book to the required day.
Task
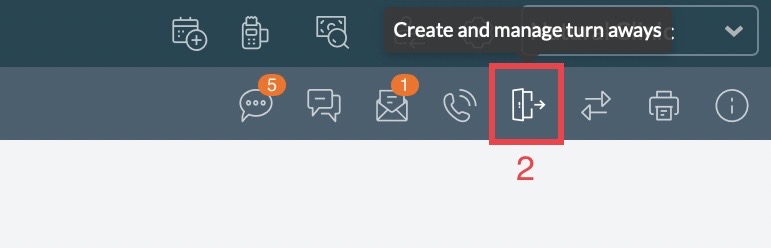
- In the Appointment Book, navigate to the date the Client wishes to book
- Select the 'Waitlist Icon'
- Click 'Add To Waitlist' to expand this section.
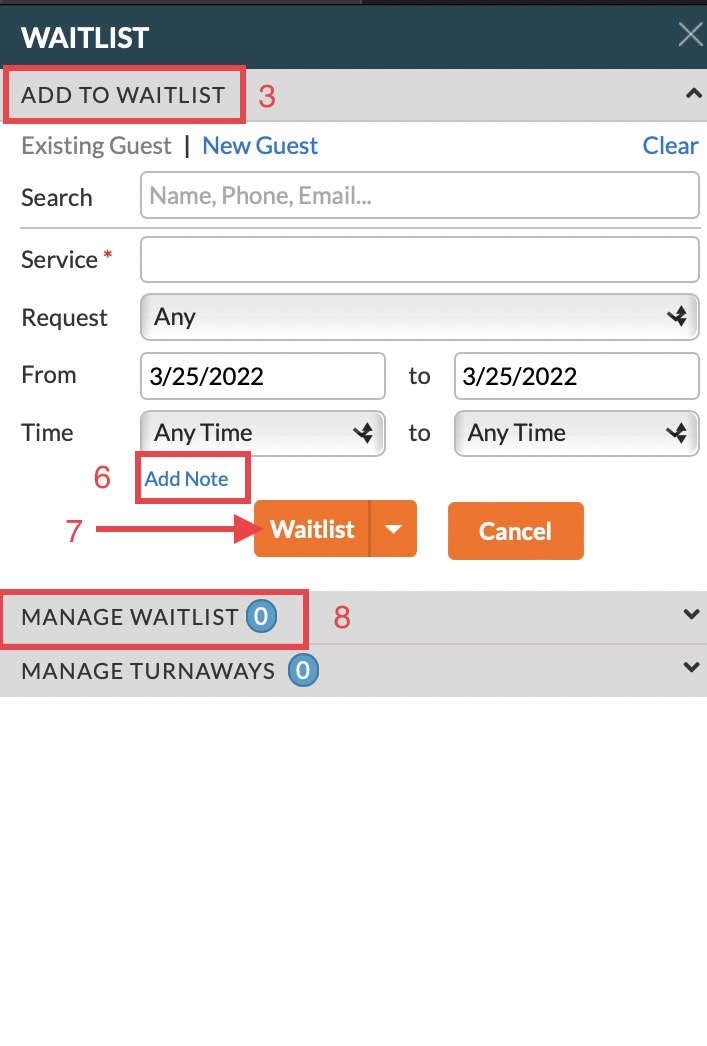
- For a New Client: Click 'New Guest' and enter in the required fields: Clients first and last name, phone number, gender, email, and service type requested. Optional fields are: provider request, date and time.
- For an existing Client: Search their profile by name, phone number or email. Required field: requested service type. Optional fields are: provider request, date and time.
- To add Client notes select 'Add Note'. If this waitlist item is later converted into an appointment, the notes from the waitlist will transfer over as appointment notes.
- Select 'Waitlist'
- To view waitlist entries that have yet to be converted to appointments, select the 'Manage Waitlist' tab.

