Creating Before and After Photos for In-Clinic Clients

May 02, 2023
 335
335
CREATING BEFORE AND AFTER PHOTOS FOR IN-CLINIC CLIENTS
TASK
- When prompted by an automated Trello card, navigate to Domo's Before and After Photo card to see who needs Before & After Photos created. Domo link: https://naturalacneclinic.domo.com/page/-100002/kpis/details/2041665197
- Check each person's name on the Domo card in this Folder to see if their Before After design has already been created or not. If not, create a folder with that client's name: https://www.dropbox.com/home/CLIENT%20PHOTOS%20NEW/BEFORE%20AND%20AFTERS%20starting%20Sept%202022
- Go to Zenoti --> Appointments --> Type clients' name and view profile --> Consent Treatment Records --> Click the earliest appointment --> See the photos attached --> Chose 2 photos which are good for the design --> Download the photos and rename them in this format "[CLIENT NAME] Before Front".
- Download the last appointments after photos. Make sure the ones you download are taken from the same side as before photos.
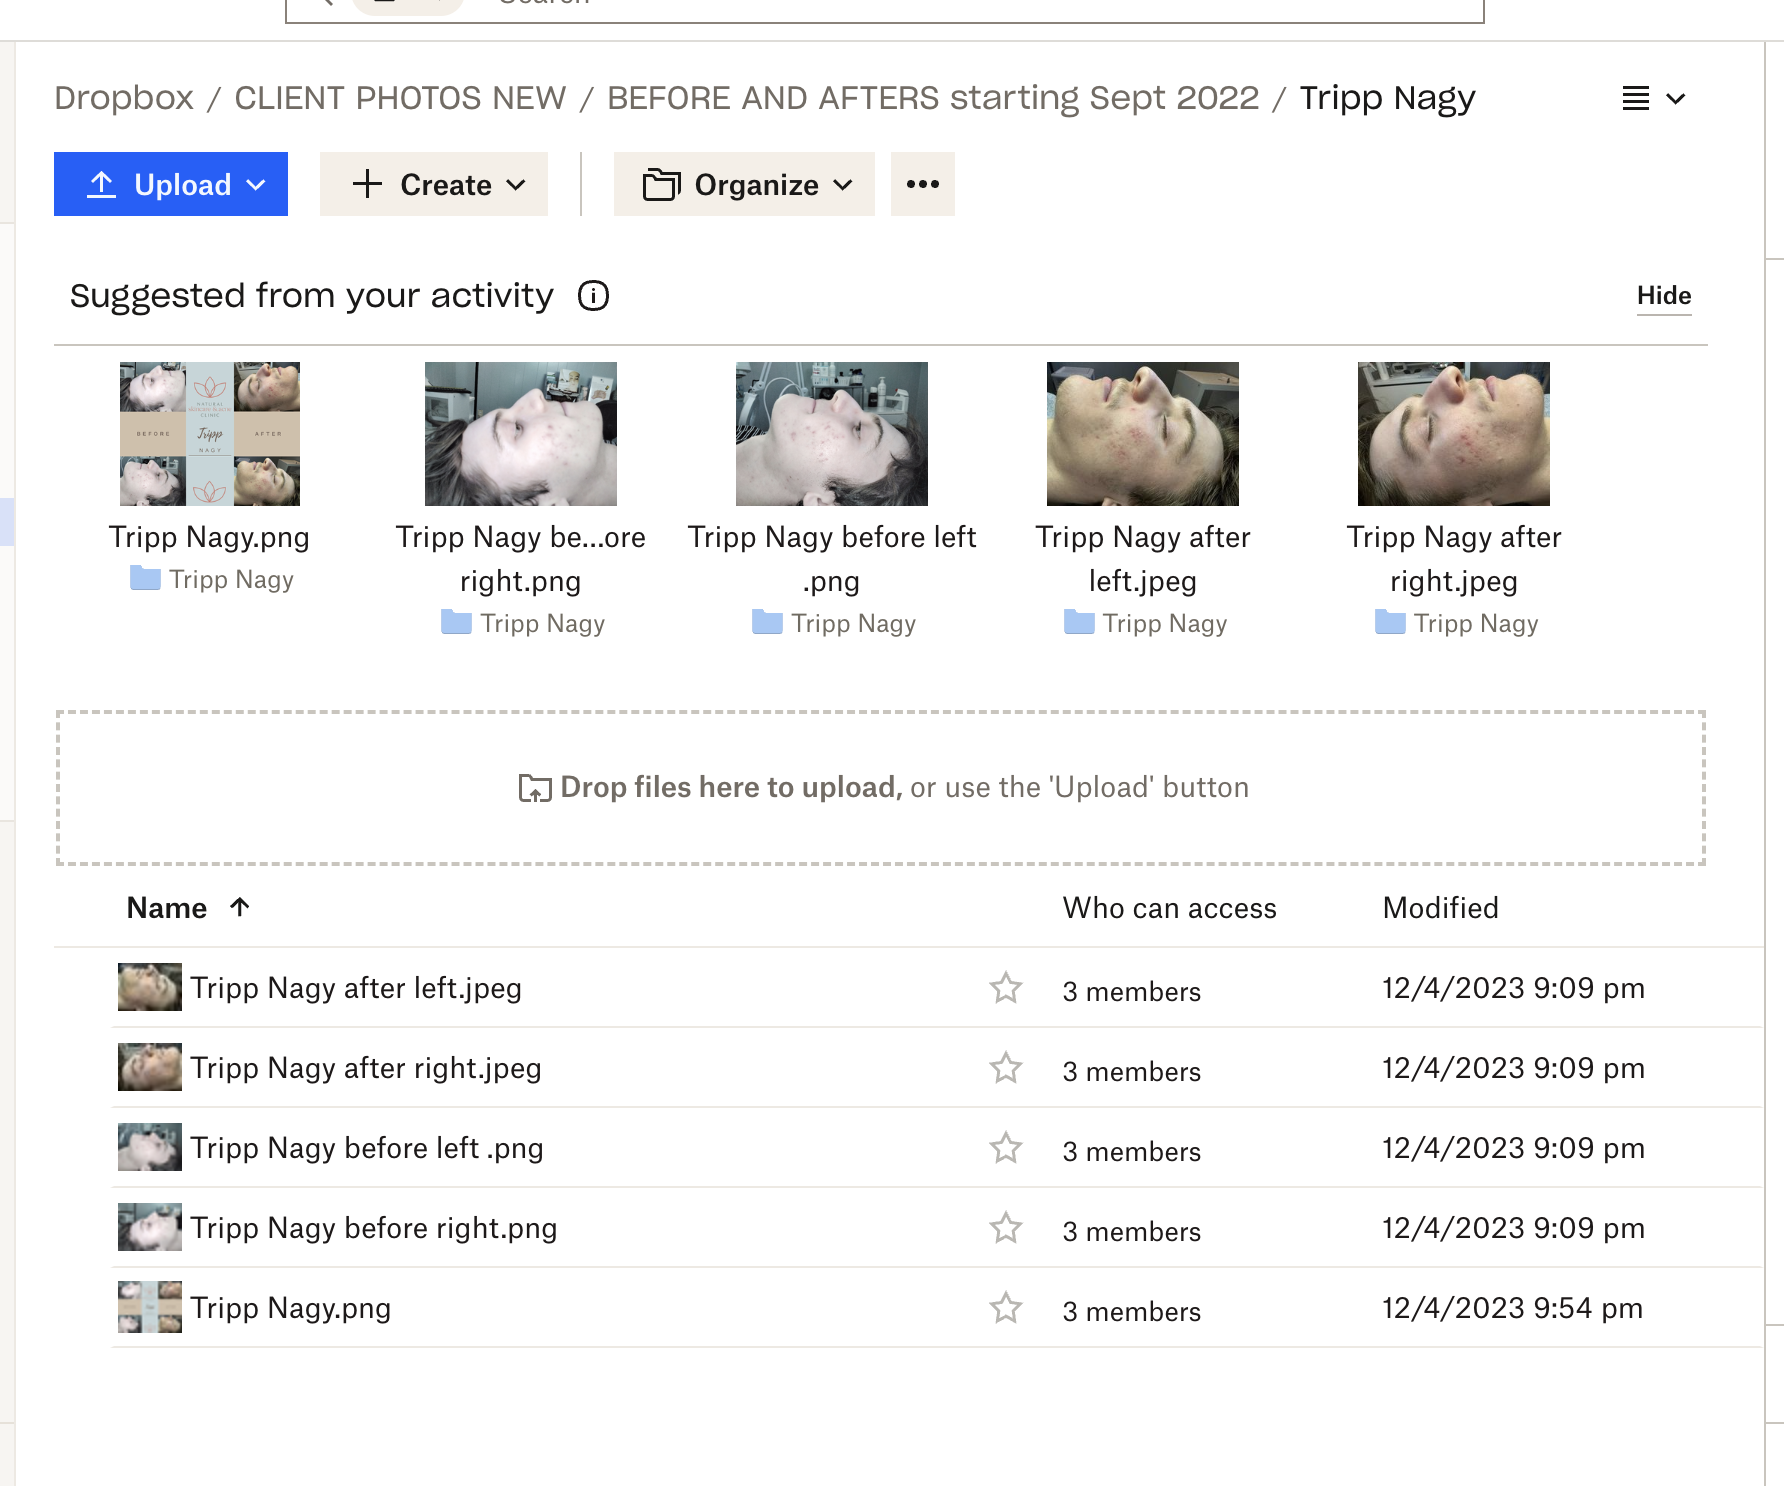
- Upload the photos to the Dropbox folder of the client that you created.
- Go to [email protected] LastPass and search "Canva account [email protected]".
- Hit Launch - opens Canva.
- Select "All Your Folders" on the left side column.
- Select "B&A for Client T2M".
- Right-click one of the previous design and select "Duplicate".
- Change the name of the design, and delete the previous client's photos and the name.
- Correct the Client's name
- Select the First name and begin typing to keep formatting
- Same with the last name
- Upload the Before-after photos that you download.
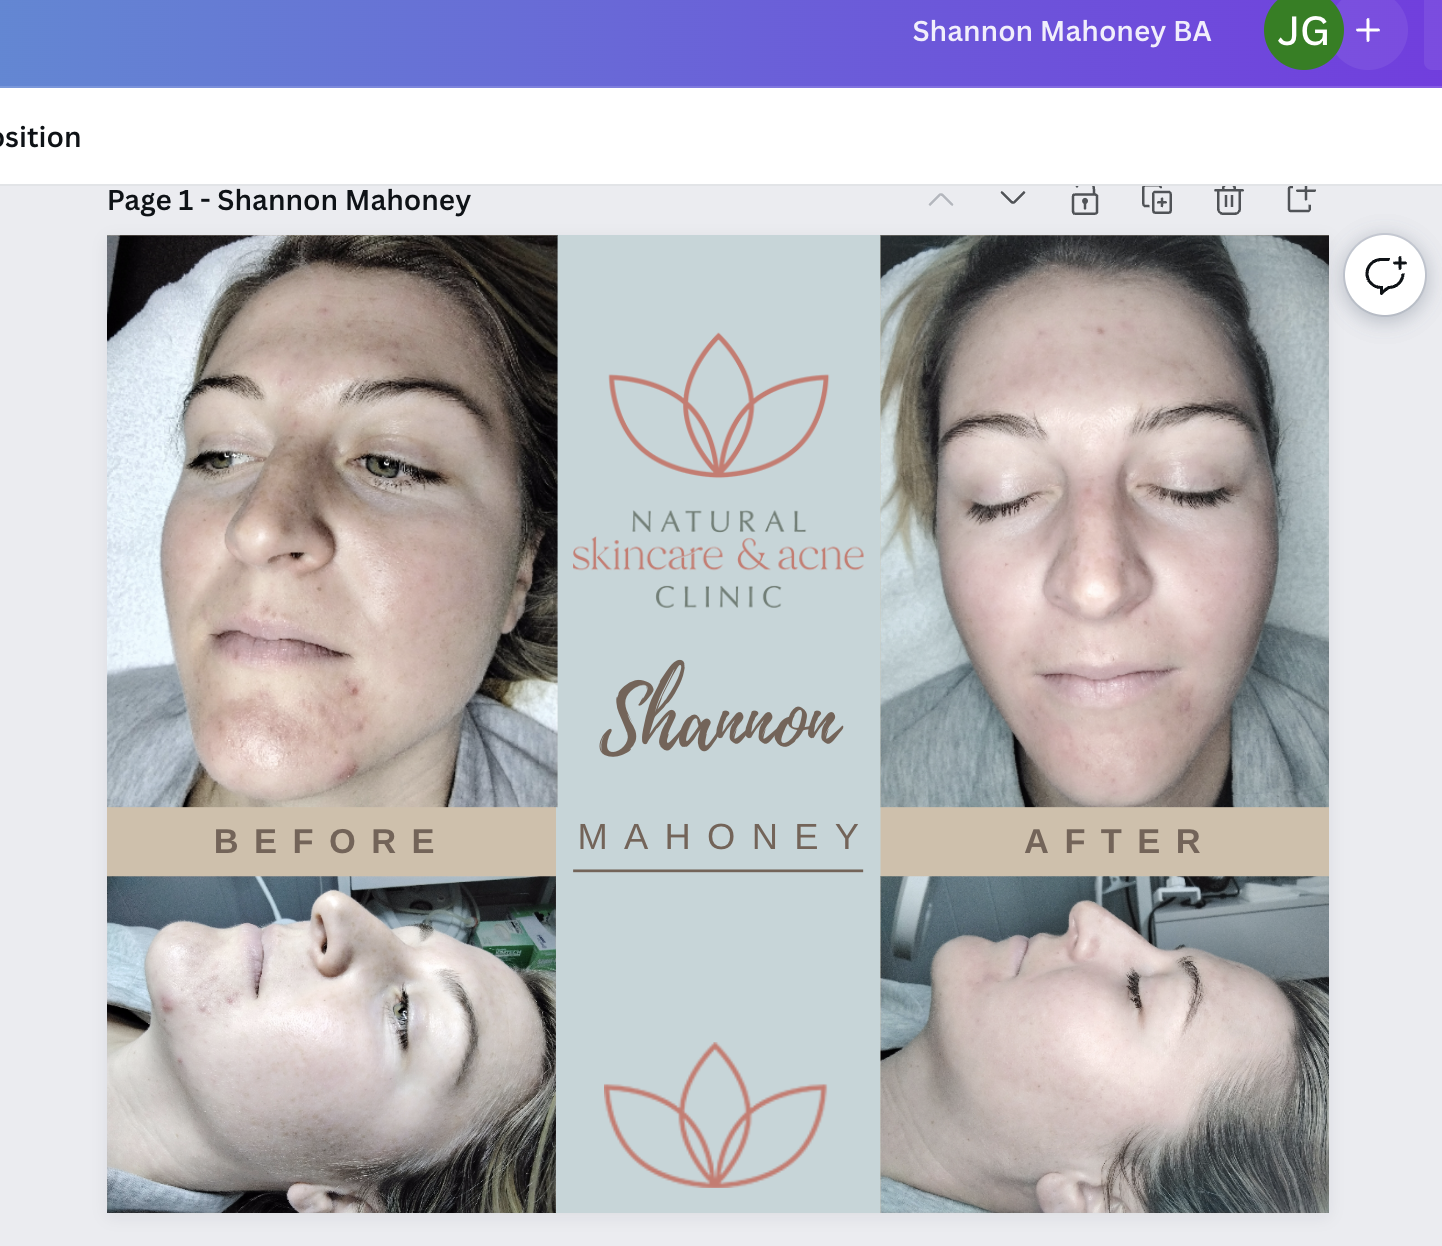
- Make sure that the size of the photos is the same on the design. Place these photos in their respective areas on the Canva document.
- Crop all photos so minimal background is shown (just below the chin to forehead and either side of face/ears).
- Be sure to align all margins the same and have minimal open space outside of the photo.
- Adjust text size and layout to fit the centre blue column.
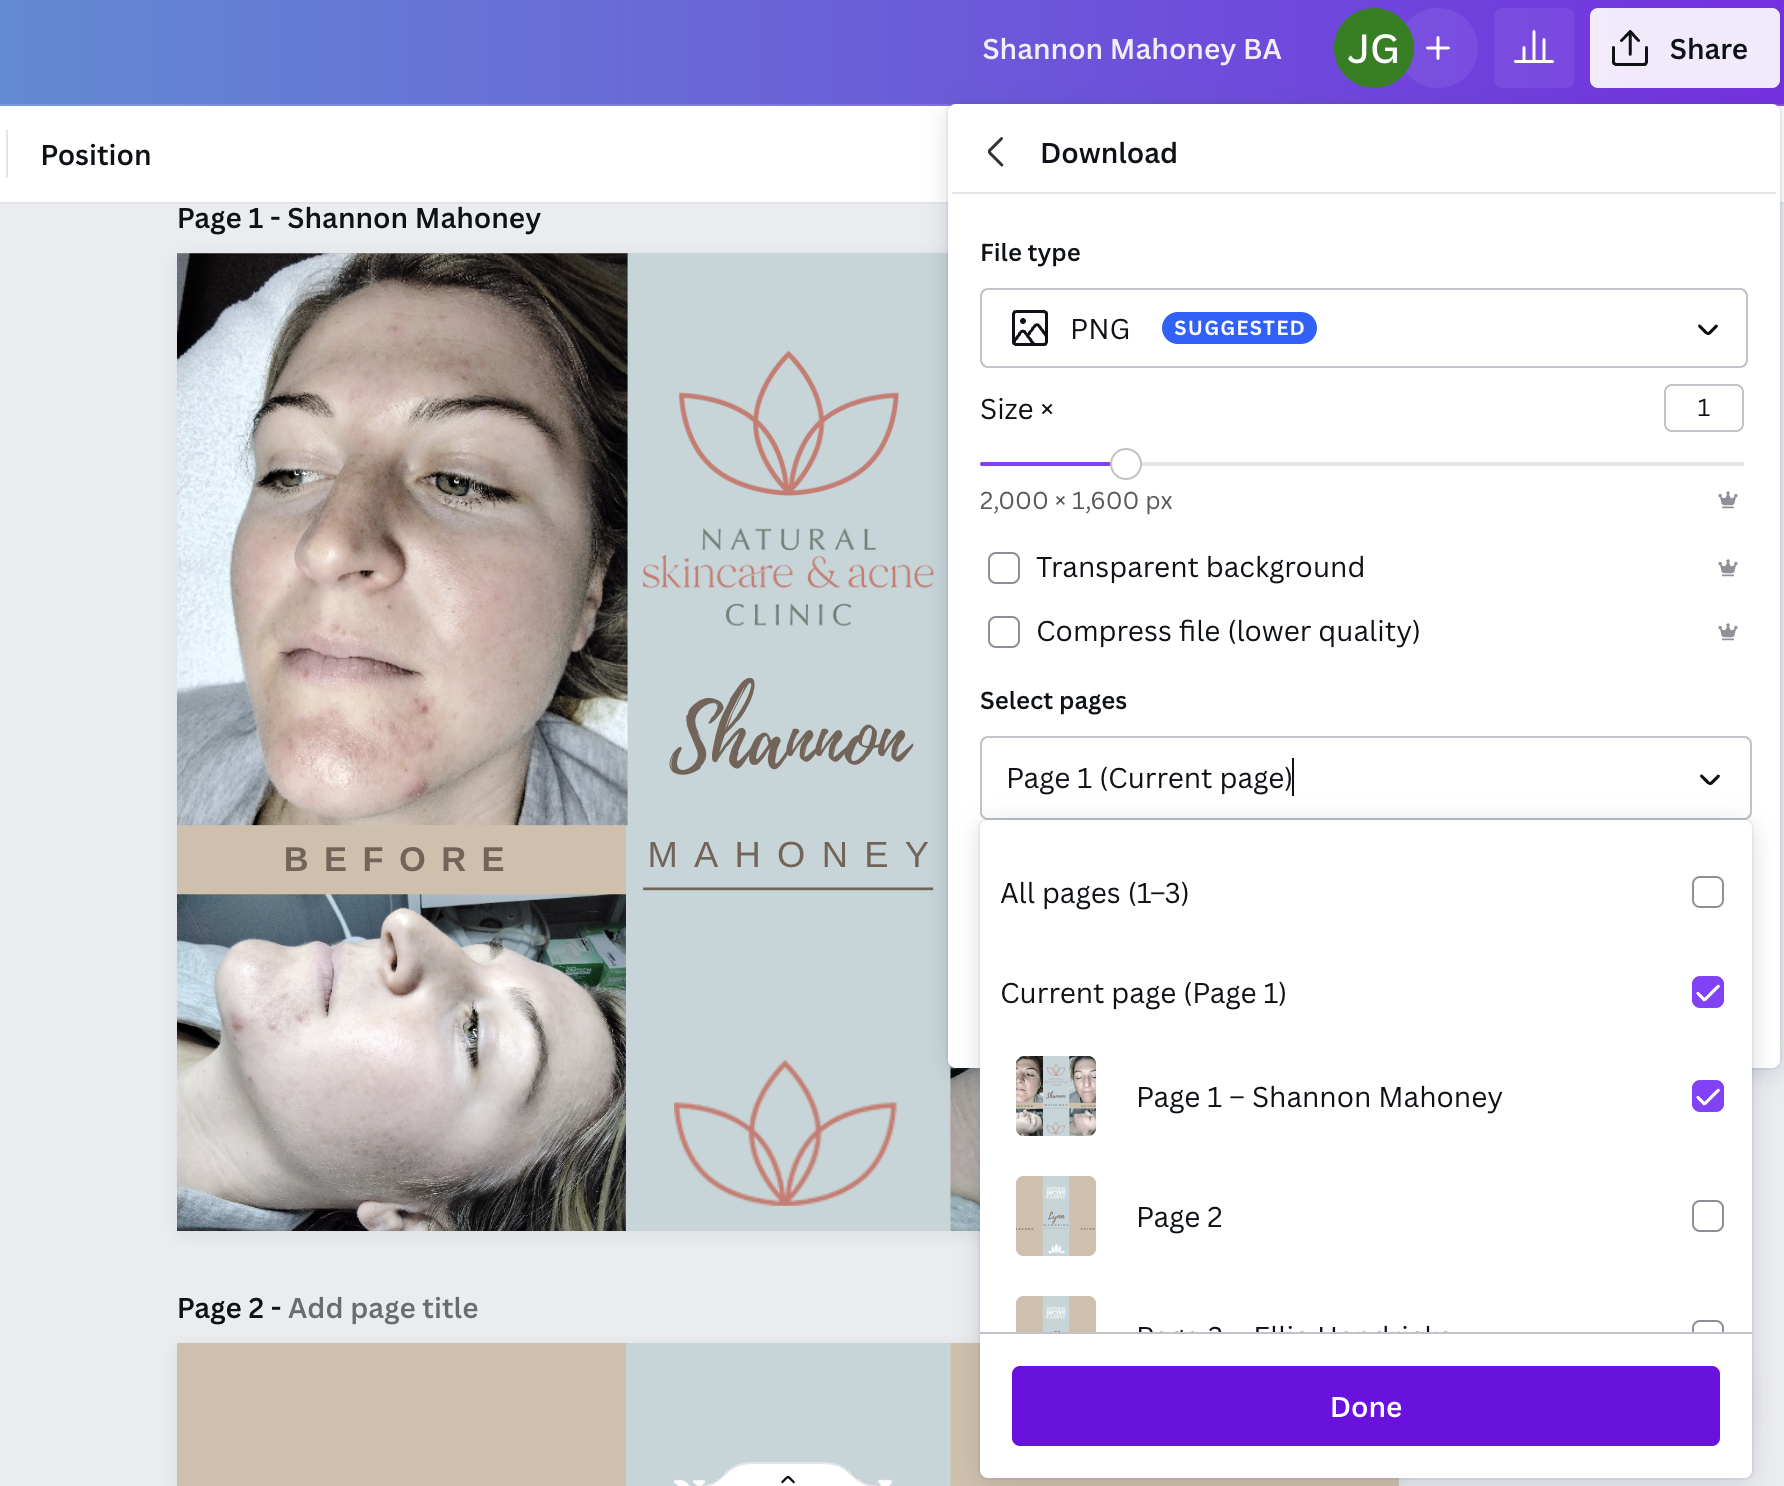
- Download the design by clicking share --> download --> select page (ONLY select the final page with the clients name you are creating for) --> Done.
- Make sure you download the design in PNG format.
- Rename the Document as "Before and After Client Name".
- Upload the design to the Dropbox folder.
- Do the same process for other clients once all the clients' designs are created, move the automated Trello card to Done.